Install Instructions
| Product Specific / Supplemental Instructions | |
| JL Side Vent Blackout Instructions | JL Rubi Hood Blackout Instructions |
| JK Hood Blackout Instructions | JK Hard Rock Blackout Instructions |
| Hood Blackout Install Video |
| Hood Lettering Install Video |
Tips for all decals:
Do I need to go thru all of this, or can I just slap the decal on?
If your decal is small, then this method may be unnecessary. Often small decals can be applied by peeling the backer paper, applying, rubbing down, and removing the transfer tape at a sharp angle. Longer and/or larger decals will benefit from the below techinque.
Identify what makes up a die cut vinyl decal:
Top Layer: Pre-Mask/Application Tape. Used to hold the separate pieces of vinyl that make up the decal together until after installation
Middle Layer: The pieces of vinyl that make up the decal.
Bottom Layer: Release Liner/Backer Paper. The first layer that will be removed during installation.
Ideal Conditions:
It is best to apply decals inside your garage if possible. Wind and dust can play havoc with decal installation. The ideal temperature would be between 50° and 85°. That said, many decals have been installed in less than ideal conditions, just use your best judgement and understand the difficulties you could encounter.
Supplies needed:
1. Squeegee (Credit card will suffice)
2. Scissors
3. Masking Tape
4. Tape Measure
5. Windex or Alcohol and Lint Free Rags/Towels
Additional Tools for Wet Install:
1. A few drops of dish soap in a spray bottle of water
Let's Get Started!
Step 1:
Wash the surface that you wish to apply the decal to with windex or alcohol and a lint free rag or towel. If the surface has been recently waxed, use alcohol or a cleaner with vinegar in it to strip the wax. You may wax over the decal after installation if you wish.
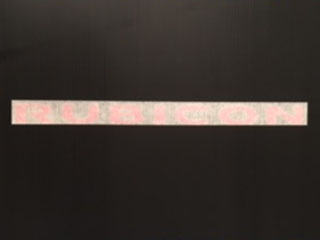
Step 2:
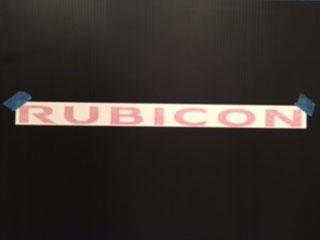
Use a tape measure (or eyeball it!) to determine the centerline in the space you wish to apply the decal. Apply masking tape to the upper corners of the decal and secure the decal in position.
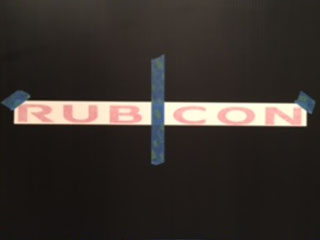
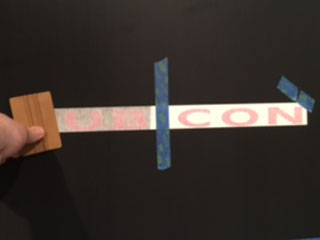
Step 3:
Apply a strip of tape over the centerline of the premask of the decal, creating a hinge. this will help you install the decal without having to reposition it while removing the release liner.
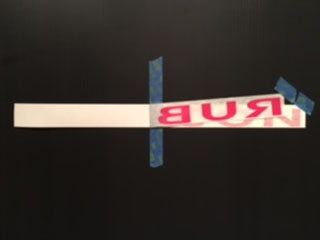
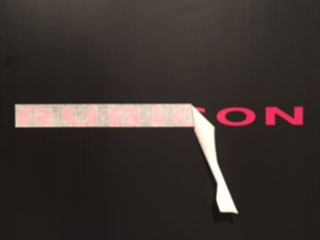
Step 4:
Starting with the left or the right side of the decal, your choice, remove the tape holding it at the corner and slowly peel the premask and decal away from the release liner, up to the hinge. Again, do this slowly to prevent tearing the vinyl. You may have to stop and rub the decal down in order to make the decal stick to the premask instead of the release liner.
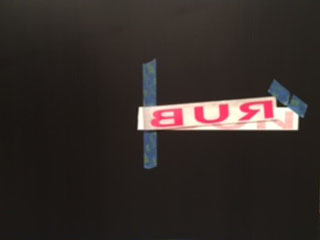
Step 5:
When you have fully peeled the premask and decal away from one side of the release liner, up to your hinge, use scissors to trim away the release liner that is exposed.
Step 6:
Dry Method: Holding the premask, without touching the adhesive to the paint, slowly but firmly squeegee the decal and premask down starting at the hinge and working towards the outside. If the decal is larger than your squegee, work from the center out to avoid any trapped air that will cause bubbles.
Wet Method: Lightly spray the vehicle as well as the back of the decal with soap and water solution. Slowly lay the decal and premask down to the surface and squegee out any excess fluid towards the outside of the decal.
Step 7:
Remove the masking tape forming your hinge from Step 3. Repeat Step 5 and 6 for the other side of the decal.
Step 8:
Dry Method: Remove the premask at a sharp angle, slowly to be sure the decal has fully adhered to the vehicle. If not, stop and rub down the area that did not adhere and continue.
Wet Method: Wait 30 minutes for the soap and water solution to fully dry. Remove the premask at a sharp angle, slowly to be sure the decal has fully adhered to the vehicle. If not, stop and rub down the area that did not adhere and continue.

Bubbles:
Small bubbles may work themselves out in the sun, so it is best to leave them alone for a few days. Large bubbles can be dealt with by poking the edge of them with a fine needle and using your squeegee to force the trapped air out.
Still have questions? Feel free to e-mail us, or give us a call at (847) 436-9638!